Check In Scans
After ScanToWeb uploads documents to the web site, they are placed in a queue for processing. The system does not know what the documents you transferred are or who they belong to. It's your job to tell it by using the following Check In process.
Here's how:
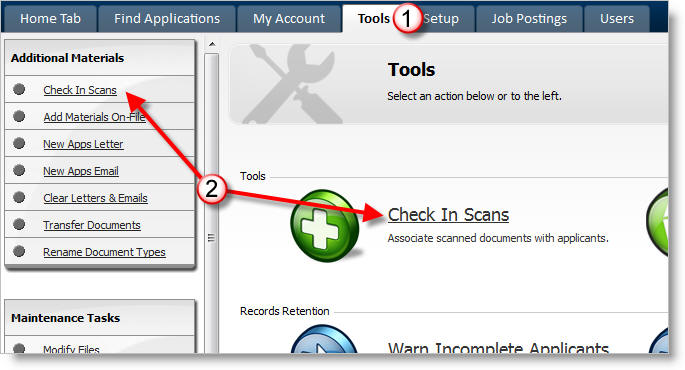
1) Go to Tools -> 2) Check In Scans
Note: Clicking on Check In Scans produces a pop-up. You should maximize the window.
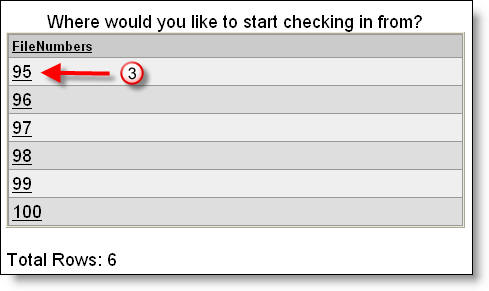
3) Click on the first number in the list. The numbers represent the "File ID" of each document you uploaded. It is not necessary to remember or otherwise interact with the File ID.
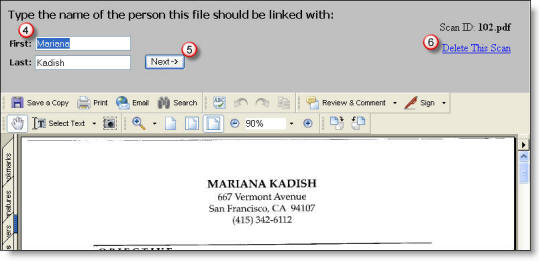
4) Enter the person's name this file should be linked with.
5) Click Next
6) If this scan is garbage then click Delete This Scan
When you click Next, you will get one of the following: Applicant Not Found or Select Document Type
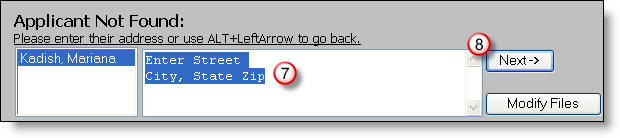
If the applicant is not found in the database, the Applicant Not Found screen will create a record for them. Upon creating the record for them, a notice is also generated to the applicant. See New Apps Email & Letter for more information. Here's how:
7) Enter their postal address if it's known.
8) Click Next
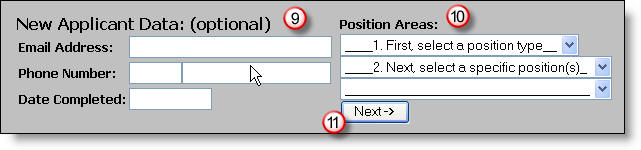
9) Enter additional information, if desired. If an email address is supplied, enter it to notify the applicant you received their documents via mail.
10) Tag the applicant with a position desired, if appropriate.
11) Click Next
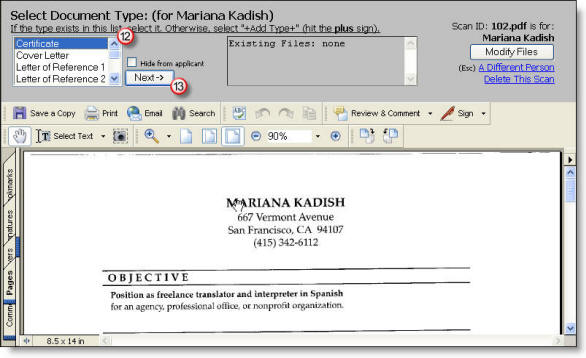
12) Select what type of document this scan is. Tip: Type the first letter of the document name to zoom to that letter.
13) Click Next
Other functions on this screen:
* "Hide from applicant" - this hides the document
on the applicant's "My Materials On File" screen.
* "Modify Files" - this opens a window for you to update this applicant's
file.
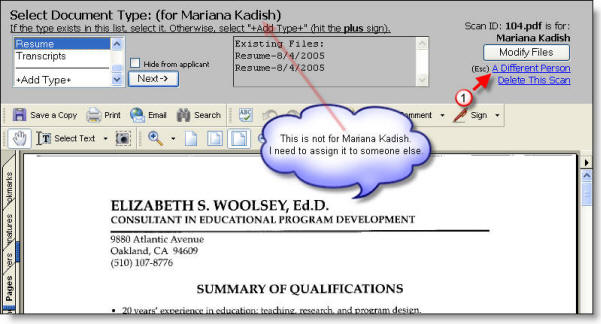
* "A different person" - stays on the current document but allows you to
switch who it will belong to.
* "Delete this scan" - deletes the current scan and moves to the next
document.
You are now done with a single document. The screen will refresh to show the next document in the queue.
15) If the next document is not of the same type as the last document, change the document type.
16) Click Next again.

Repeat this process until a document for a different person appears...
1) Click the link "A Different Person" to switch names.
Continue checking in scans until you receive the message "Finished Checking In Scans." You are now done and may close the window.